
How to photograph construction defects so the evidence works
A close photograph may prove that a crack exists while proving nothing about where it is. A wide photograph may locate the wall while hiding the crack. Reliable defect evidence uses a short sequence in which every image has one job.
9 minute read. Last reviewed .
Use a three-photo sequence
Begin with three images: location, condition and scale. Not every defect needs all three, and complicated defects may need more, but thinking in those roles prevents the most common gap. Each photograph should answer a question the reader would otherwise have to ask.
- Location: where in the building is the item, and which surface or component is affected?
- Condition: what exactly can be observed, including its shape, extent and relationship to nearby work?
- Scale: how large, wide, deep or displaced is it?
Take the sequence in that order. Starting wide helps you move toward the defect without losing the orientation of the room. It also gives the report a natural visual explanation: the reader sees the building, then the relevant element, then the detail.
Prove the location without relying on a filename
A locating shot should include a fixed reference that will remain after temporary labels and site furniture disappear. Doorways, windows, corners, room numbers, columns and permanent fixtures work well. Stand far enough back that the relationship between the reference and defect is unambiguous.
For repeated rooms or apartments, photograph the unit or room identifier before entering, then take the room view. For external work, start with the whole elevation and move toward the bay, level or grid line. A photograph of white paint filling the frame is not located even if its timestamp is perfect.
Show the observed condition, not just a pointer
Fill enough of the frame with the relevant condition to show its edges and texture, but keep a small amount of surrounding material. That context can distinguish a crack in a tile from a grout joint, or a paint mark from staining that continues around a window reveal.
Change angle when the condition has depth, alignment or reflection. Lipping, bowing and surface undulation often disappear in a straight-on photograph. Take a second image along the plane of the surface. Water paths may require a sequence from the visible stain toward joints, penetrations or the area above, without declaring the cause before it has been investigated.
Often needs another angle
- Tile or panel lipping and uneven joints
- Bowing, deflection or poor alignment
- Cracks that change width along their length
- Water staining across more than one surface
- Missing sealant or open junctions
- Damage hidden by glare or reflection
Often needs wider context
- A defect near an opening or penetration
- Repeated defects along a run
- Falls, ponding or drainage relationships
- Movement at two different materials
- Plant or fixtures with an identifying label
- Work that may have been affected by later trades
Put the scale in the same plane
Use a ruler, tape, crack-width card or another suitable measuring tool when dimension matters. Place it beside the condition on the same plane. A ruler held closer to the camera than the crack will appear larger and makes the comparison unreliable.
Keep the measurement readable and take one image without the tool if it covers part of the defect. For long damage, photograph the whole extent and then the maximum width or displacement. Record the measured value in the text as well. Common objects such as coins can give orientation, but a graduated tool communicates more precisely and avoids regional size differences.
A phone photograph is not a calibrated survey. If a tolerance, structural movement or moisture value determines the conclusion, use the appropriate instrument and competence, record the method and retain the underlying reading.
Control light, focus and reflections
Clean the camera lens before the walk. Tap the screen on the defect to set focus and exposure, then check the result at full size rather than assuming the camera captured what your eye saw. Take a second image if motion, low light or a bright window has softened the detail.
- Use raking light across a surface to reveal texture, ripples and raised edges. Keep another image under normal lighting to show how the finish appears in ordinary use.
- Avoid digital zoom. Move closer safely or crop a copy later while retaining the original image.
- Shift your position to control reflections on glass, polished stone, stainless steel and gloss paint. The reflection of the photographer can hide the exact condition.
- Use the flash carefully. It can help in service cupboards but may flatten texture or create a bright spot that obscures moisture and finish variation.
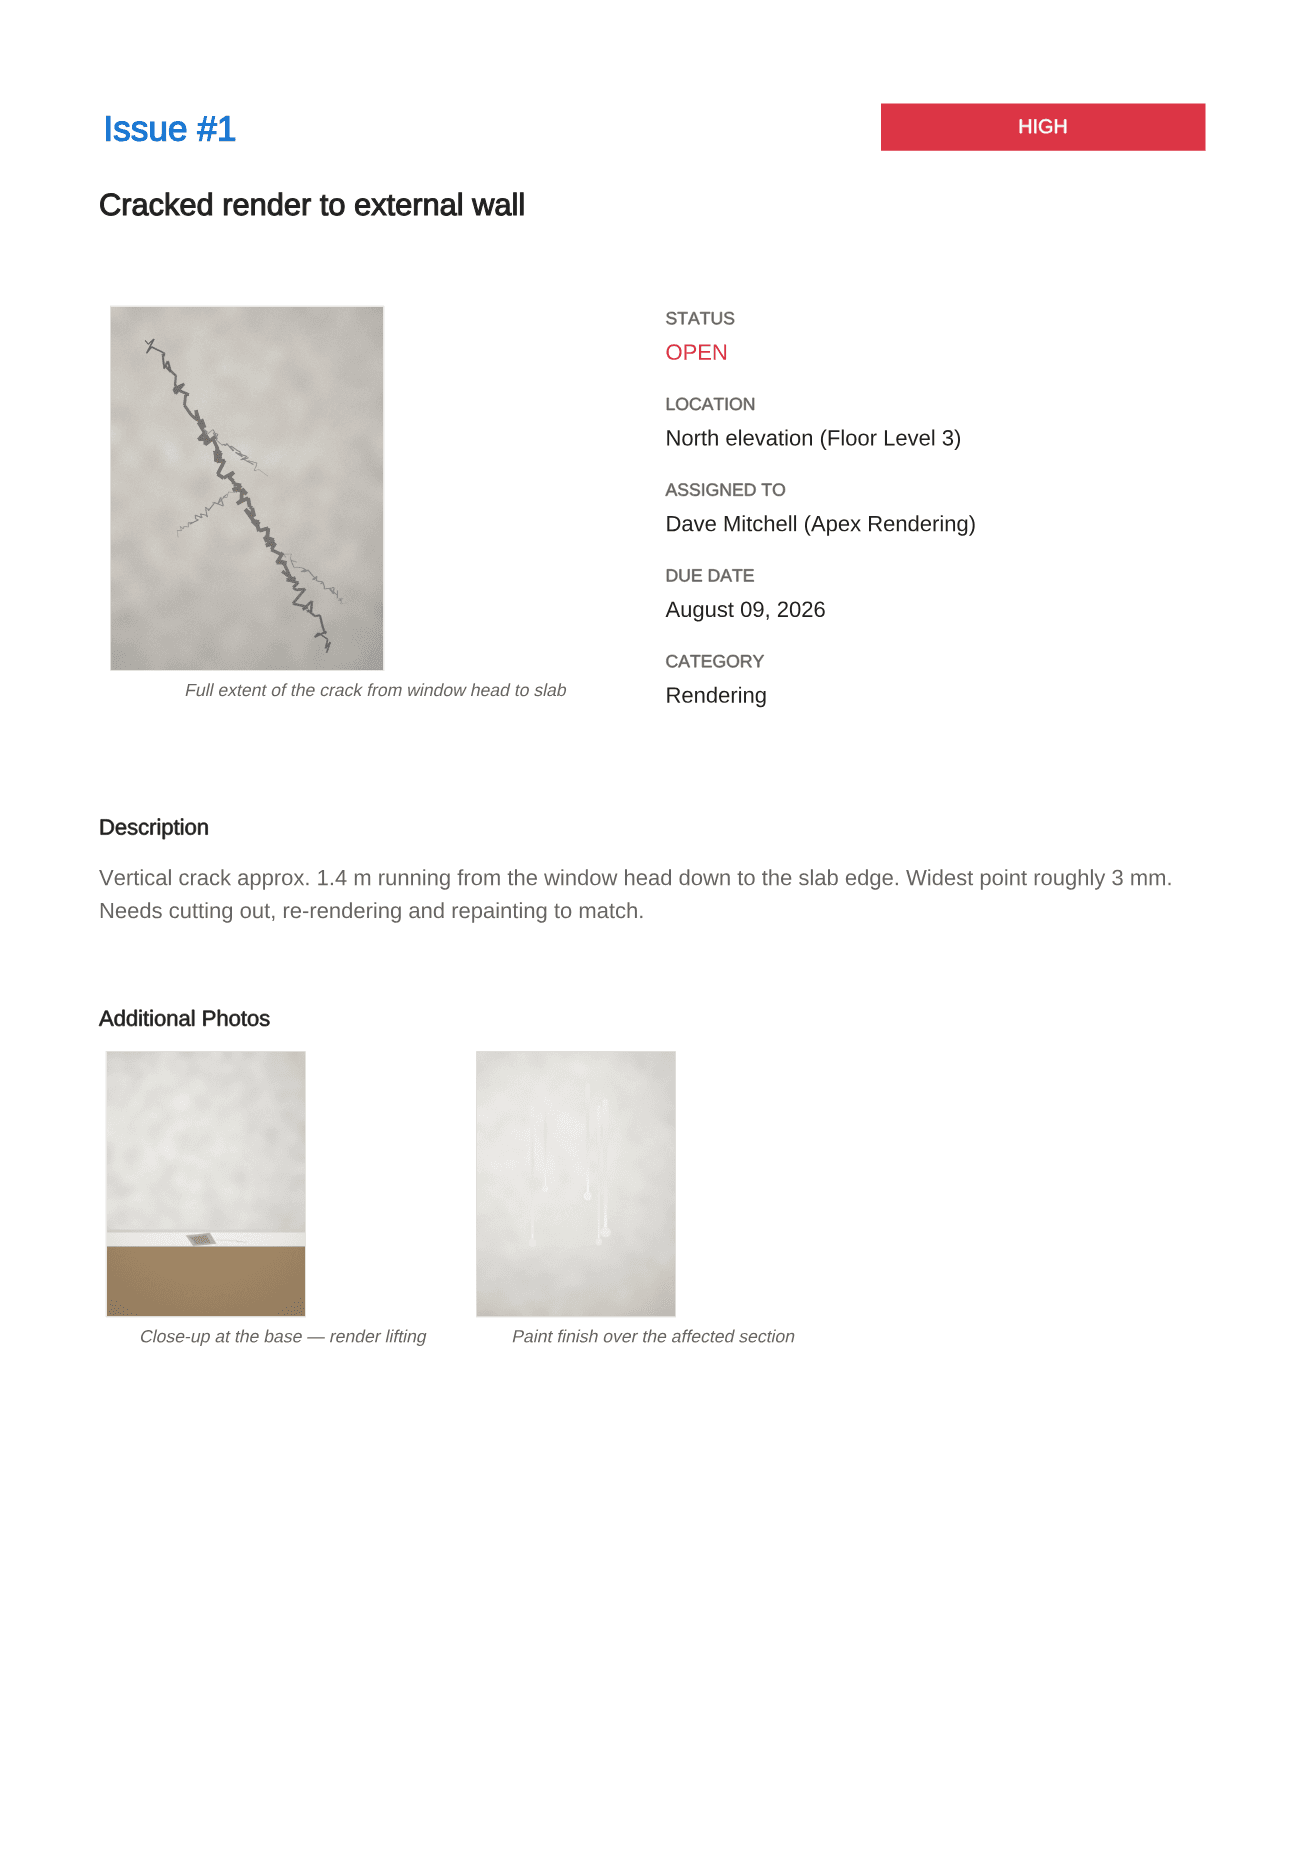
Caption the evidence and mark up a copy
A caption should say what the image contributes, not repeat the item title. “Wide view of west bedroom, defect beside left window reveal” explains the locating shot. “Maximum crack width at sill junction with ruler in plane” explains the measured detail.
If the defect is hard to see, add a circle or arrow to a copy and keep the clean original. Do not cover the edges of the condition, add filters or make edits that could be mistaken for original evidence. The markup exists to direct attention, not strengthen the appearance of the defect.
Keep capture time and the original file. If the report is revised, keep the original issue number and add new dated photographs rather than replacing the earlier ones. That sequence shows whether the condition changed and whether a repair lasted.
The field workflow to repeat every time
- Name the precise location before taking the close image.
- Take the wide locating shot with a permanent reference.
- Take the detail shot in focus with the whole condition visible.
- Add a scale image or alternative angle when size, depth or alignment matters.
- Review every image at full size while you are still standing there.
- Write a factual caption and description, then mark up a copy if needed.
- Attach all images to one numbered defect record and preserve that number through closeout.
Good photographs do not replace a good description. They make the description verifiable. Combine this sequence with the five fields in the defect report guide, then use consistent defect categories so the record can be routed and analysed as well as seen.