
How to create a snagging report on Android
Start with one real defect and finish with a PDF you can open and share. This walkthrough follows Site Audit on Android, from a new project to a checked report, so you can try the complete process before taking it onto a live job.
By Blu Mint Digital. 4 minute read. Last reviewed .
This walkthrough describes Site Audit for Android 2.1.0. The free version supports one project with multiple defects, photos and PDF export. You can follow the entire example without buying Pro. Use a test observation or a real issue you are authorised to record; the examples below are illustrative.
1. Create a project that the recipient will recognise
On the project screen, choose New Project. Use a name that still makes sense outside the app, such as “Riverside apartment 12, handover inspection”. Add the relevant project and client details. A short internal nickname may be convenient on your phone but confusing on a report forwarded to the builder.
Decide how you will name rooms before capturing the first issue. “Bedroom 2” should mean the same room on every entry. If the property has several levels, use the floor and location fields consistently rather than burying all the location information in the description.
For a first trial, capture one item and generate a report immediately. This lets you check the document layout and the information you need before recording a full inspection. You can return to the same project and add more items afterwards.
2. Record one defect as a complete item
Add an issue to the project. Give it a specific title, such as “Chipped tile at entry threshold”. In the description, say what you observed and where. Keep a visible condition separate from an unverified explanation of its cause.
- Location: main entry, inside face of the threshold, tile nearest the left door jamb.
- Observation: a chip is visible at the exposed tile edge.
- Assignment: the contact or contractor who will assess the item.
- Priority and status: select the appropriate priority and leave an outstanding item open.
- Next step: state the assessment or response required, with an agreed date where one exists.
Save the record and reopen it to confirm the information is attached to the intended project. For help writing the observation itself, see how to write a defect report.
3. Add an overview and a detail photograph
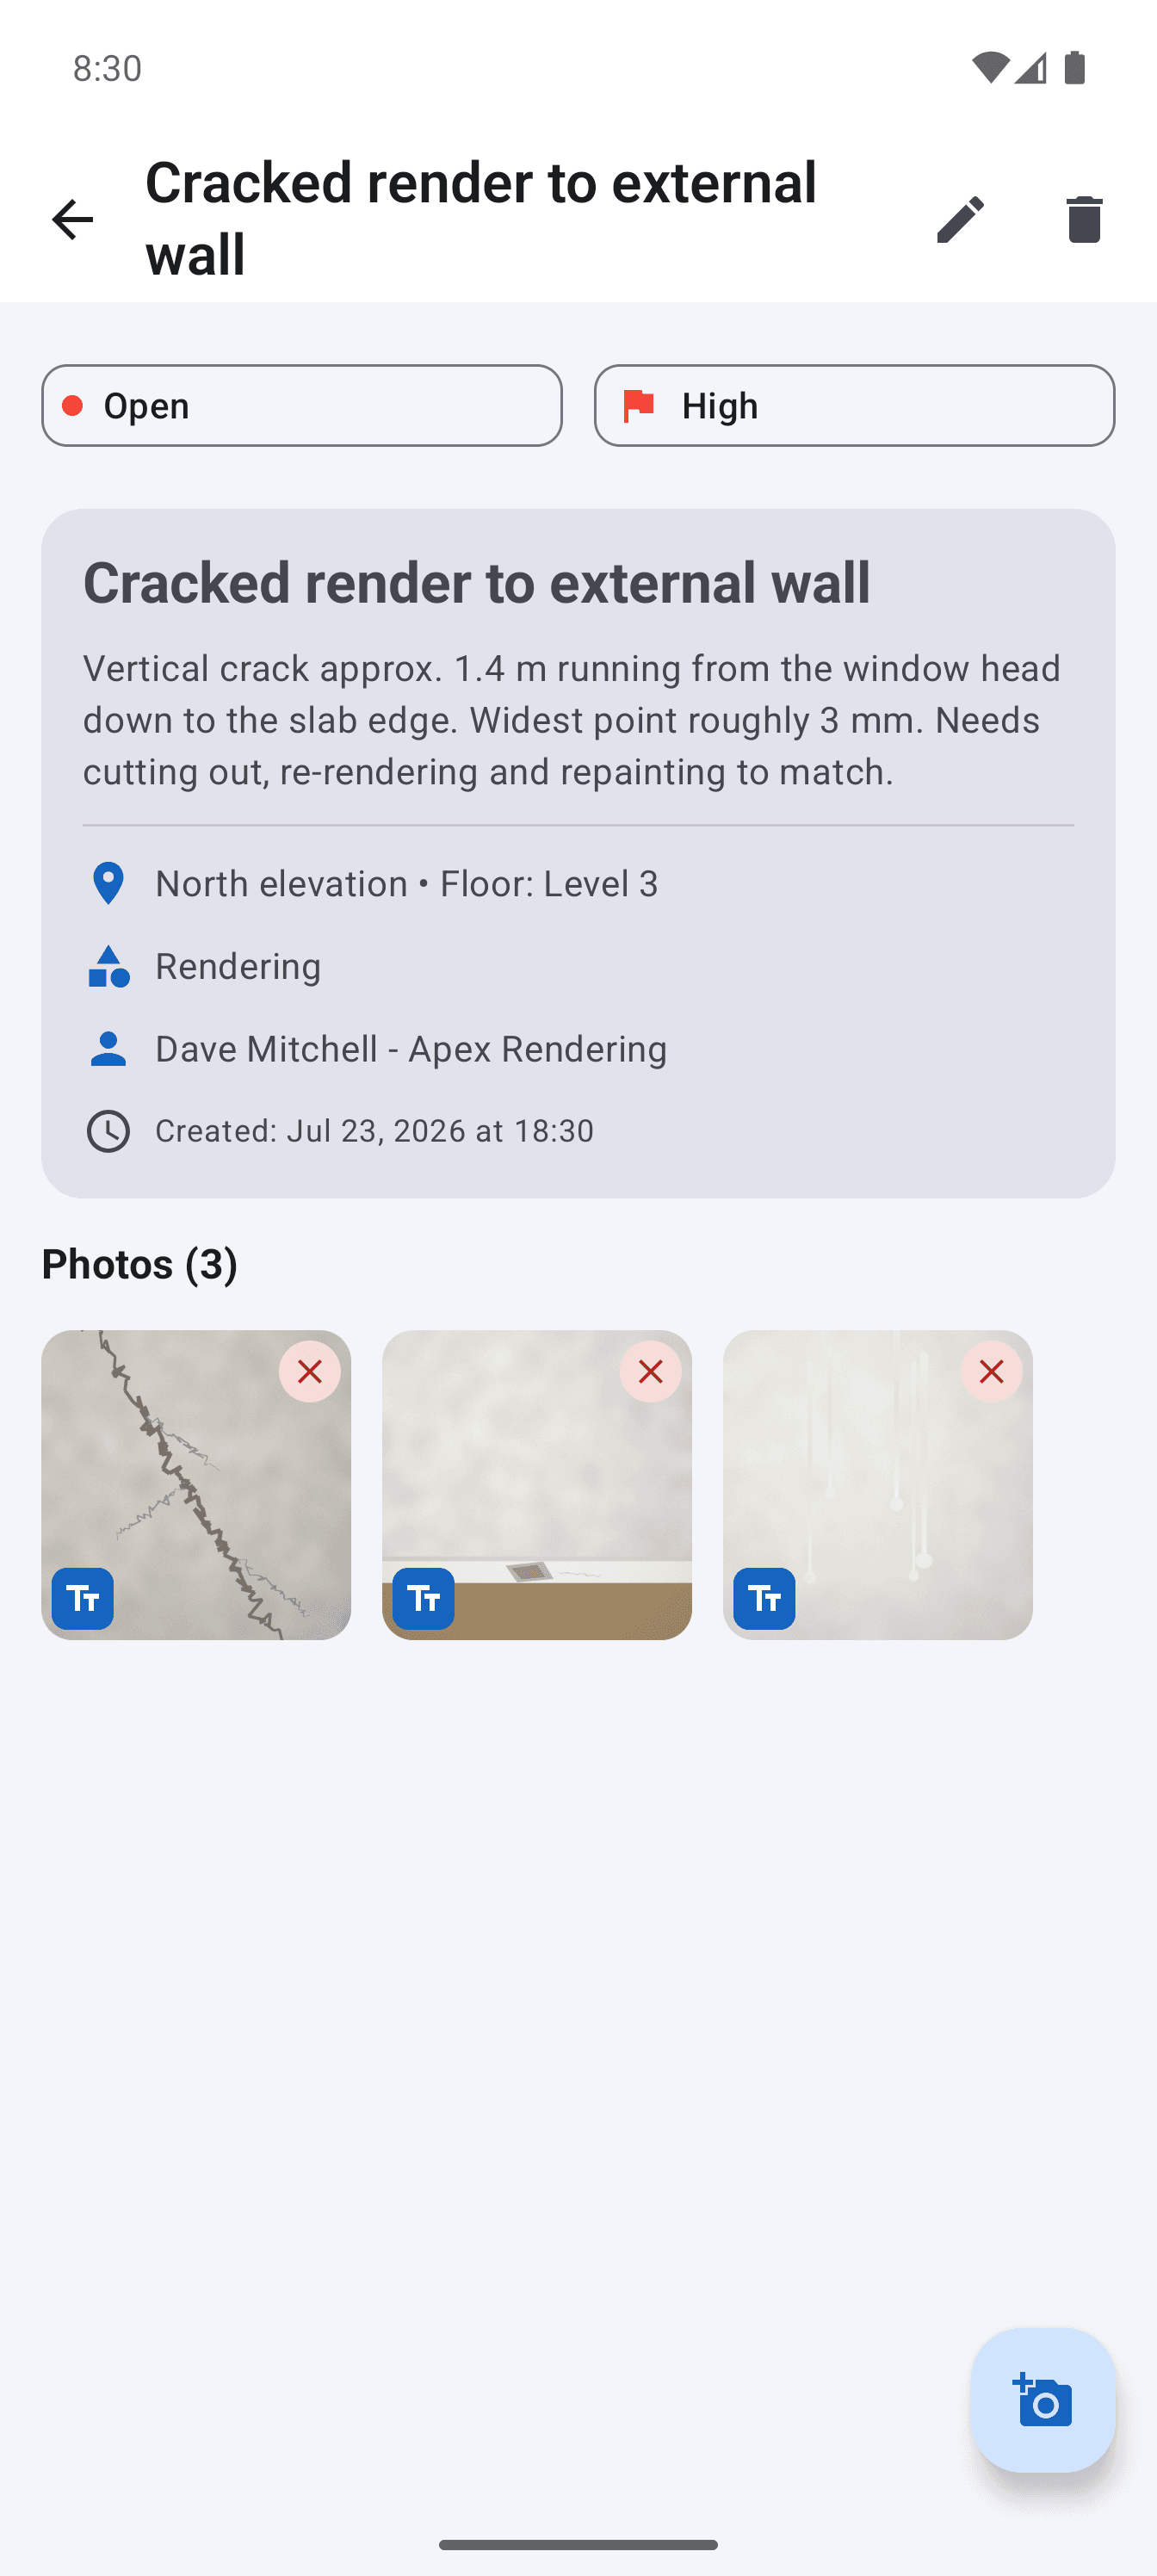
Attach a wider image that locates the tile and a closer image showing the chip. Site Audit supports multiple photos on the same issue. Caption each photo so the reader understands why it is included. “Entry threshold, viewed from hallway” and “Chip on exposed edge beside left jamb” give the two images different jobs.
You can mark up the images to point out the relevant detail. Keep enough of the original surface visible for the reader to assess what is shown. An arrow helps locate a mark; a thick circle covering the mark defeats the purpose.
4. Choose the report contents and generate the PDF
Open Generate Report from the project. Check the inspection date and the optional company, inspector and contact details. If you use a saved report profile, confirm it belongs to the business issuing this report. Previewing an unfamiliar profile is better than discovering someone else’s contact details after sending.
The content options include Include Photos, Use Annotated Photos and Include Summary Table. For the first trial, include the photos and summary. Use annotated photos if you want the markings to appear. Generate the PDF and open the completed file.
PDF generation runs on the device. Sending it through email or another online service still depends on that service and your connection. You can prepare and check the document while offline, then send it when a connection is available.
5. Check the file before sharing it
Read the PDF as if you had never visited the property. Confirm the project identity, date, issue description, location, photographs and captions. Zoom in on the detail image and check that it remains useful. Look at the end of the document as well as its cover.
Use the report’s share control to choose the destination available on your Android device. A share sheet opening is not confirmation that an email was sent: finish the action in the destination app and check its result. Keep a copy of the version you issued.
Our report email templates help explain the next action to the recipient. The sample snagging report shows the kind of document the app produces.
What changes when you unlock Pro?
The first free project includes a finished PDF with a small app credit line. Pro adds unlimited projects, removal of that credit, contractor-specific PDF reports, CSV export and the highest PDF quality option. The current local purchase price is shown in Google Play; see the feature comparison before deciding.
After issuing your first report, create a backup of the inspection data. The PDF is the document you sent; the backup preserves the working records you may need for a return visit.