
A snagging report example you can actually open
This is real output from the app, not a mock up. Four pages: a cover, a summary table, then a page for every defect with all of its photographs. Open the PDF, or read what each page does below.
PDF, 780 KB. No email address, no sign up.
Report
- 4 pages, 8 defects
Photos
- Several per defect, each captioned
Made on
- An Android phone, offline
Time to produce
- About two minutes after the walk
What each page is for
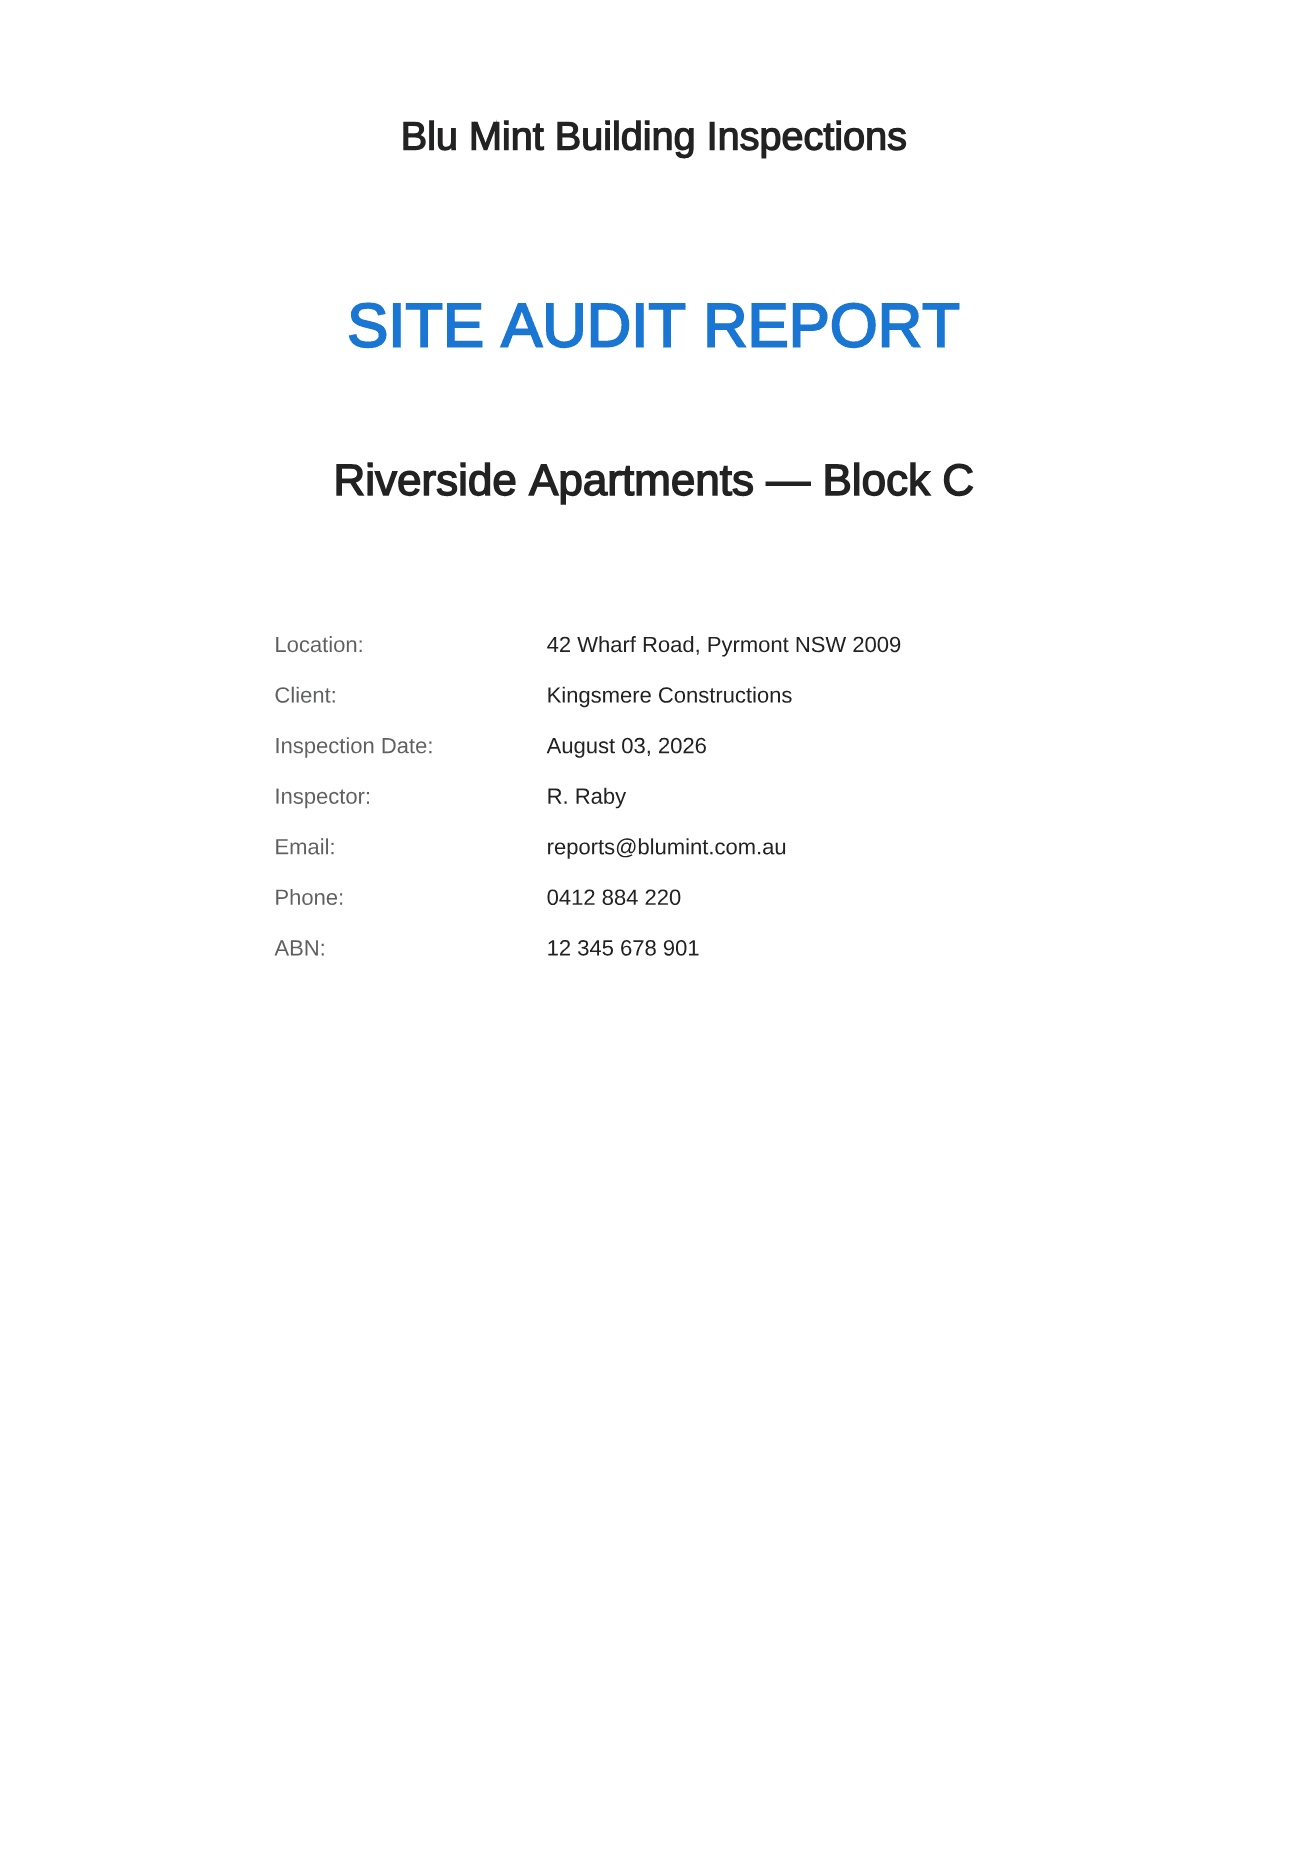
Cover page
Who inspected what, for whom, and when.
The inspecting business, its logo, business number and contact details, then the project, the client, the site address and the date of the walk. The reader knows who wrote it and who to ring before they turn the page.
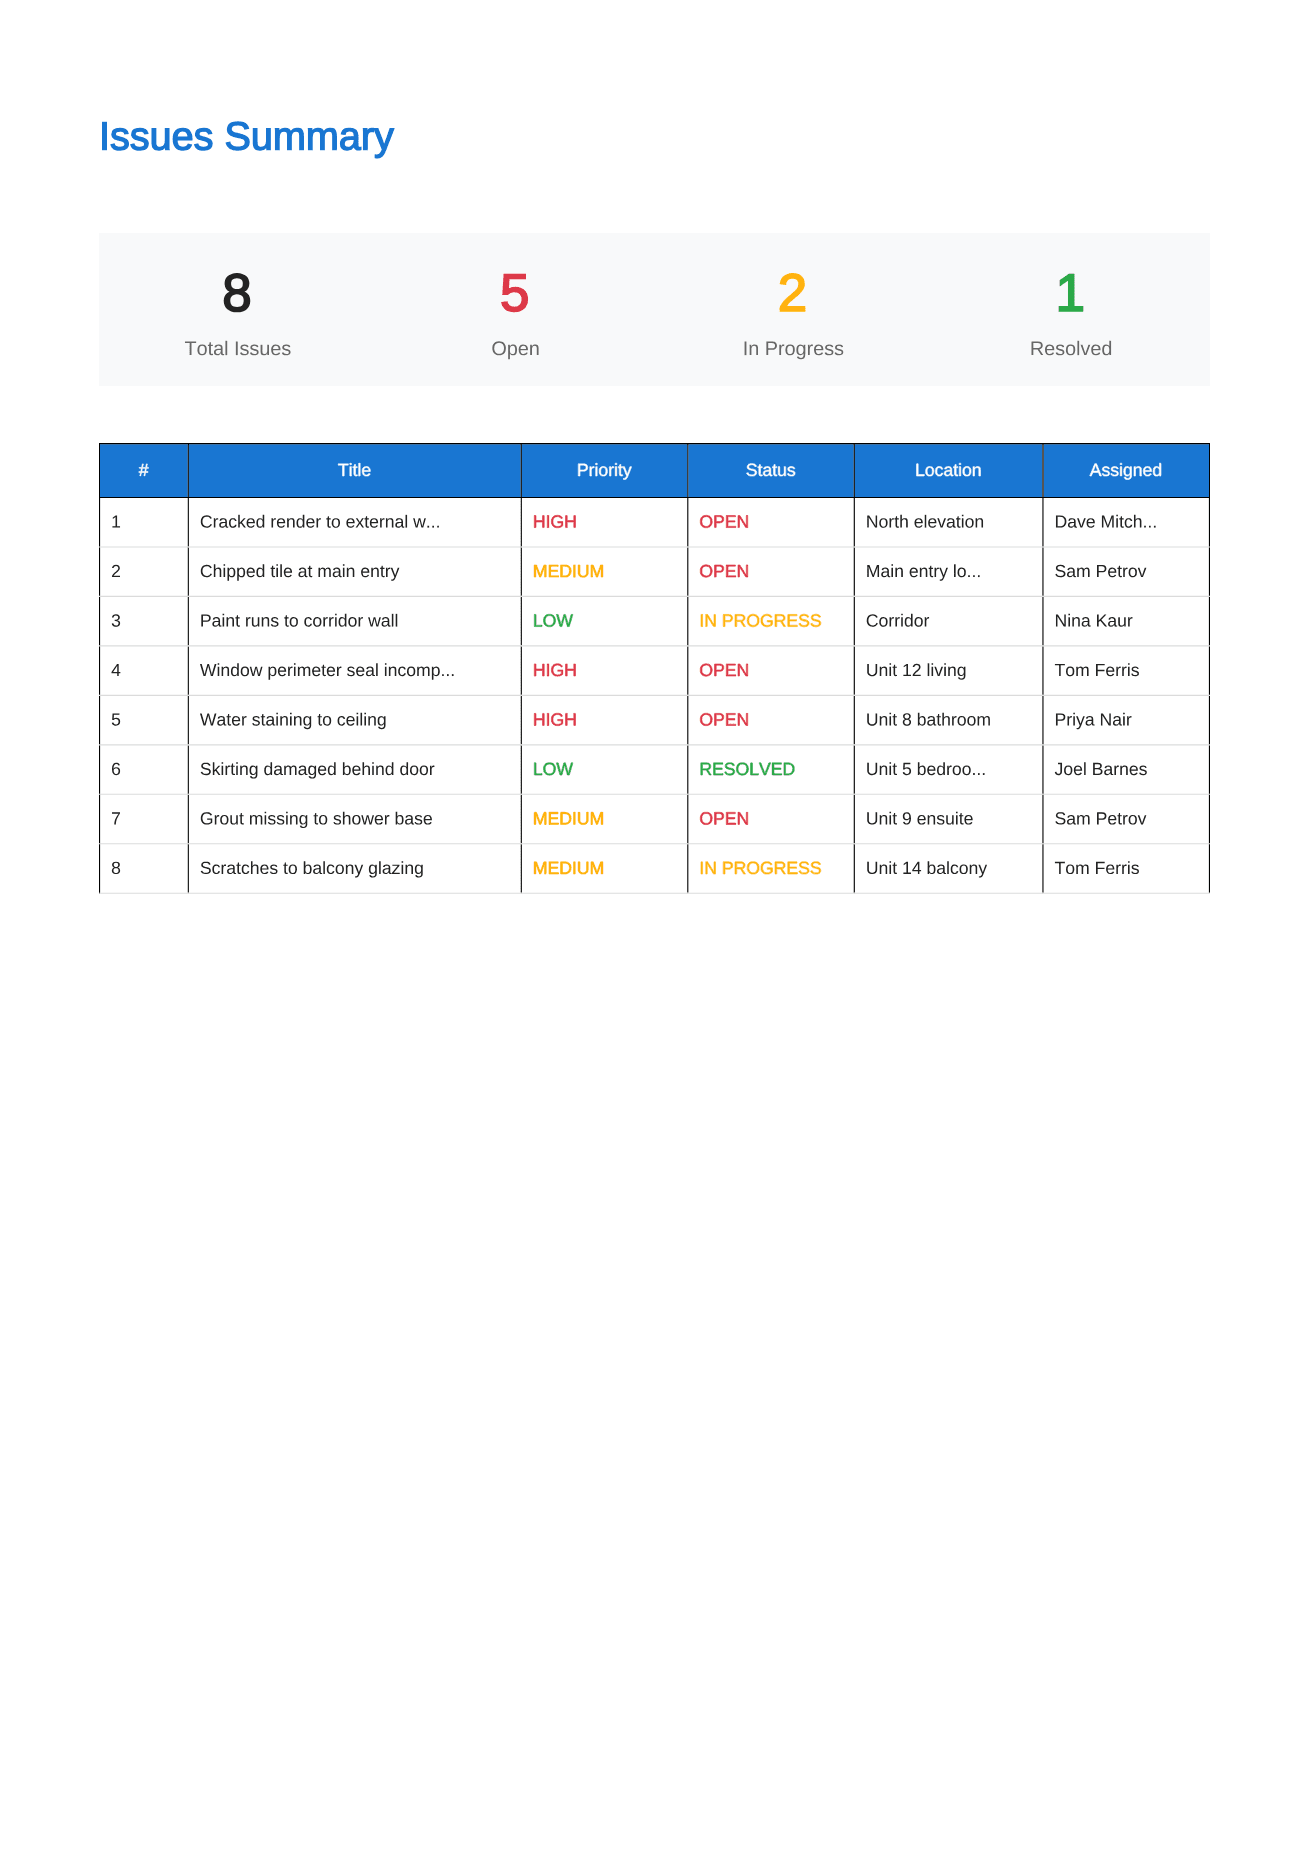
Summary table
The whole list on one page.
Counts of total, open, in progress and resolved items, then one row per snag with its number, title, priority, status, location and the trade it belongs to. A site manager reads this page and knows the size of the job.
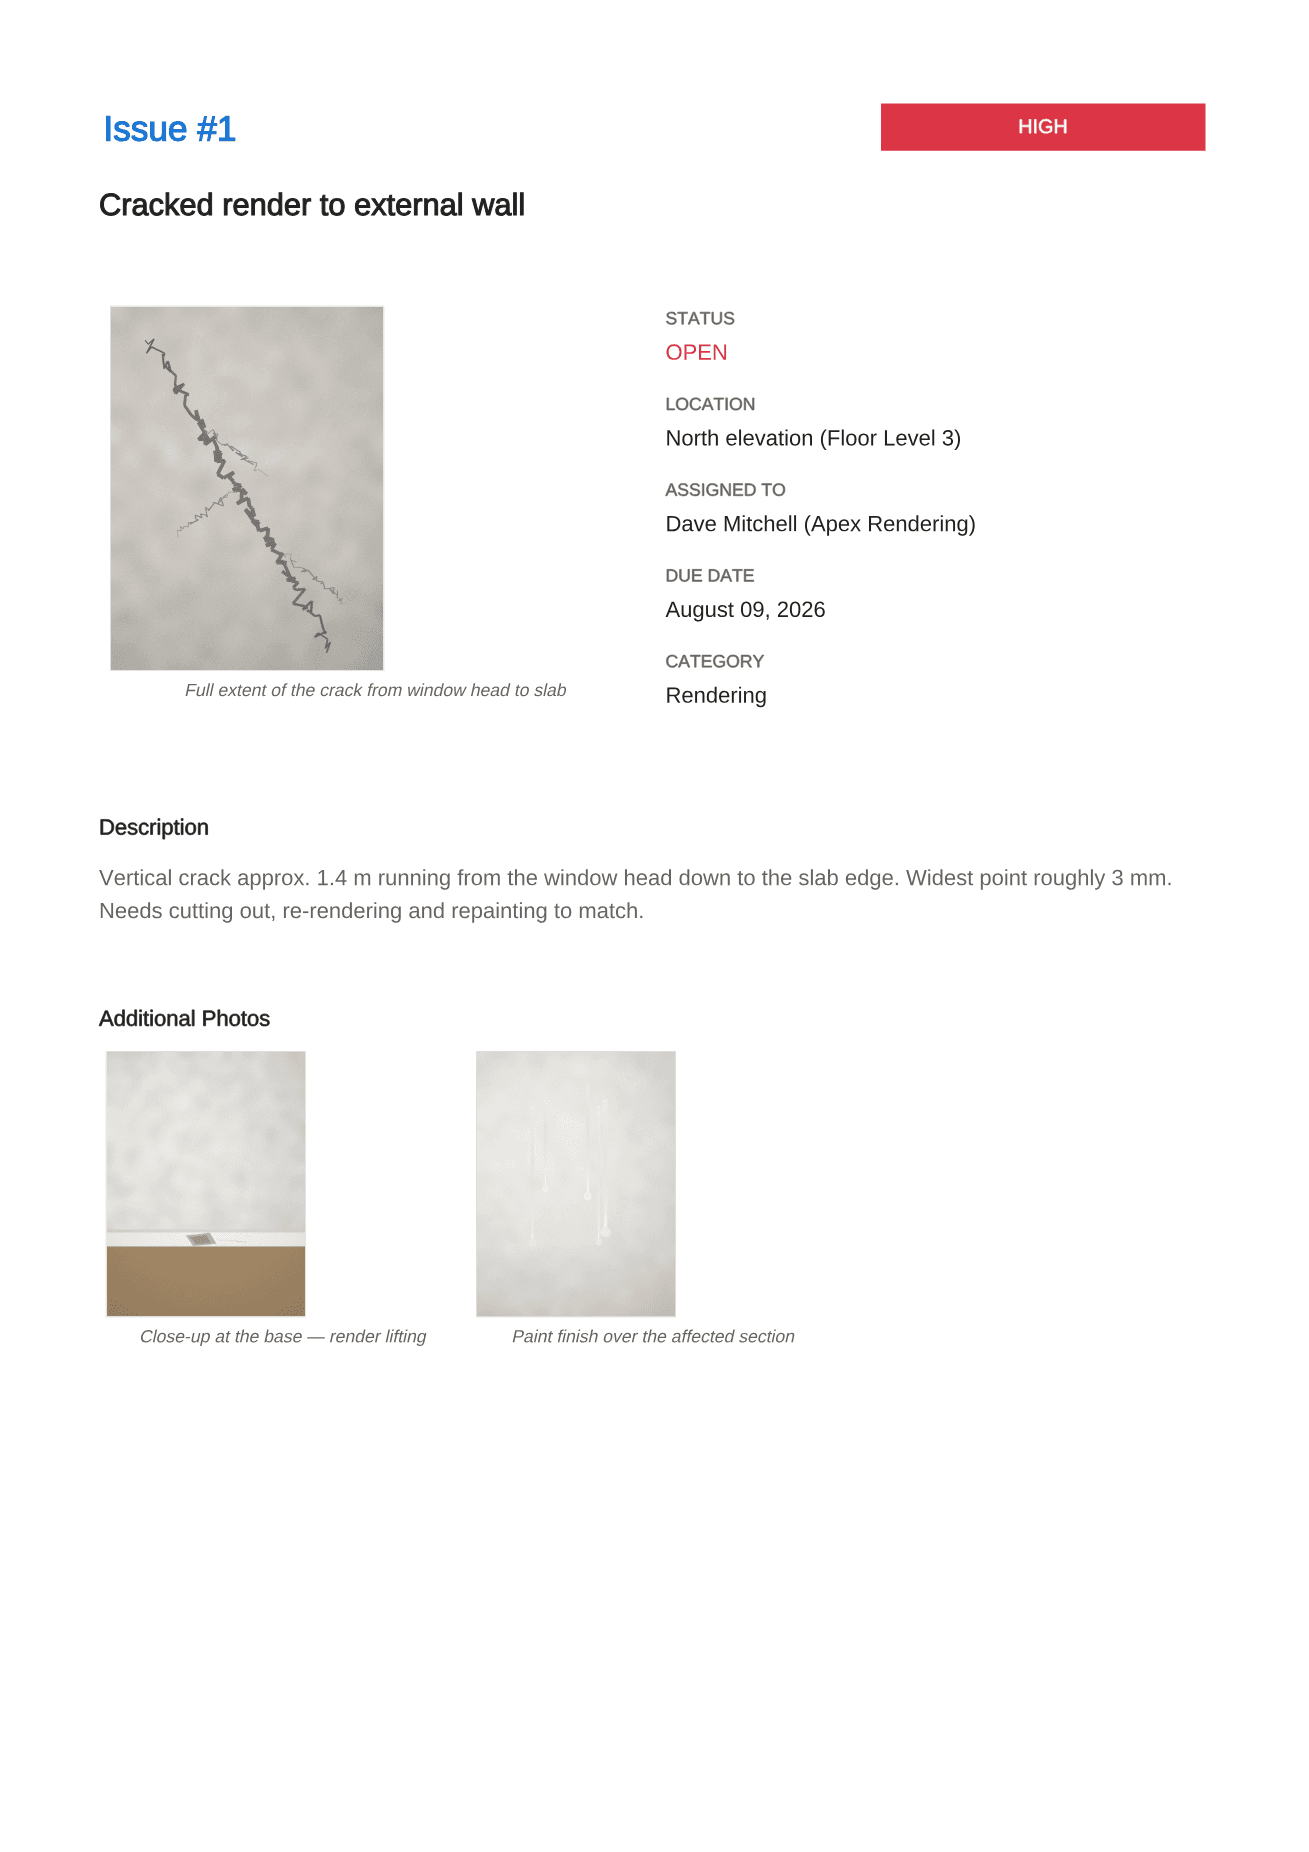
One page per snag
Everything a trade needs to fix it without ringing you.
The main photograph, priority and status, the precise location, the assigned contractor, the due date and the full description. Underneath, every additional photo with its own caption, so the wide shot and the close up both print.
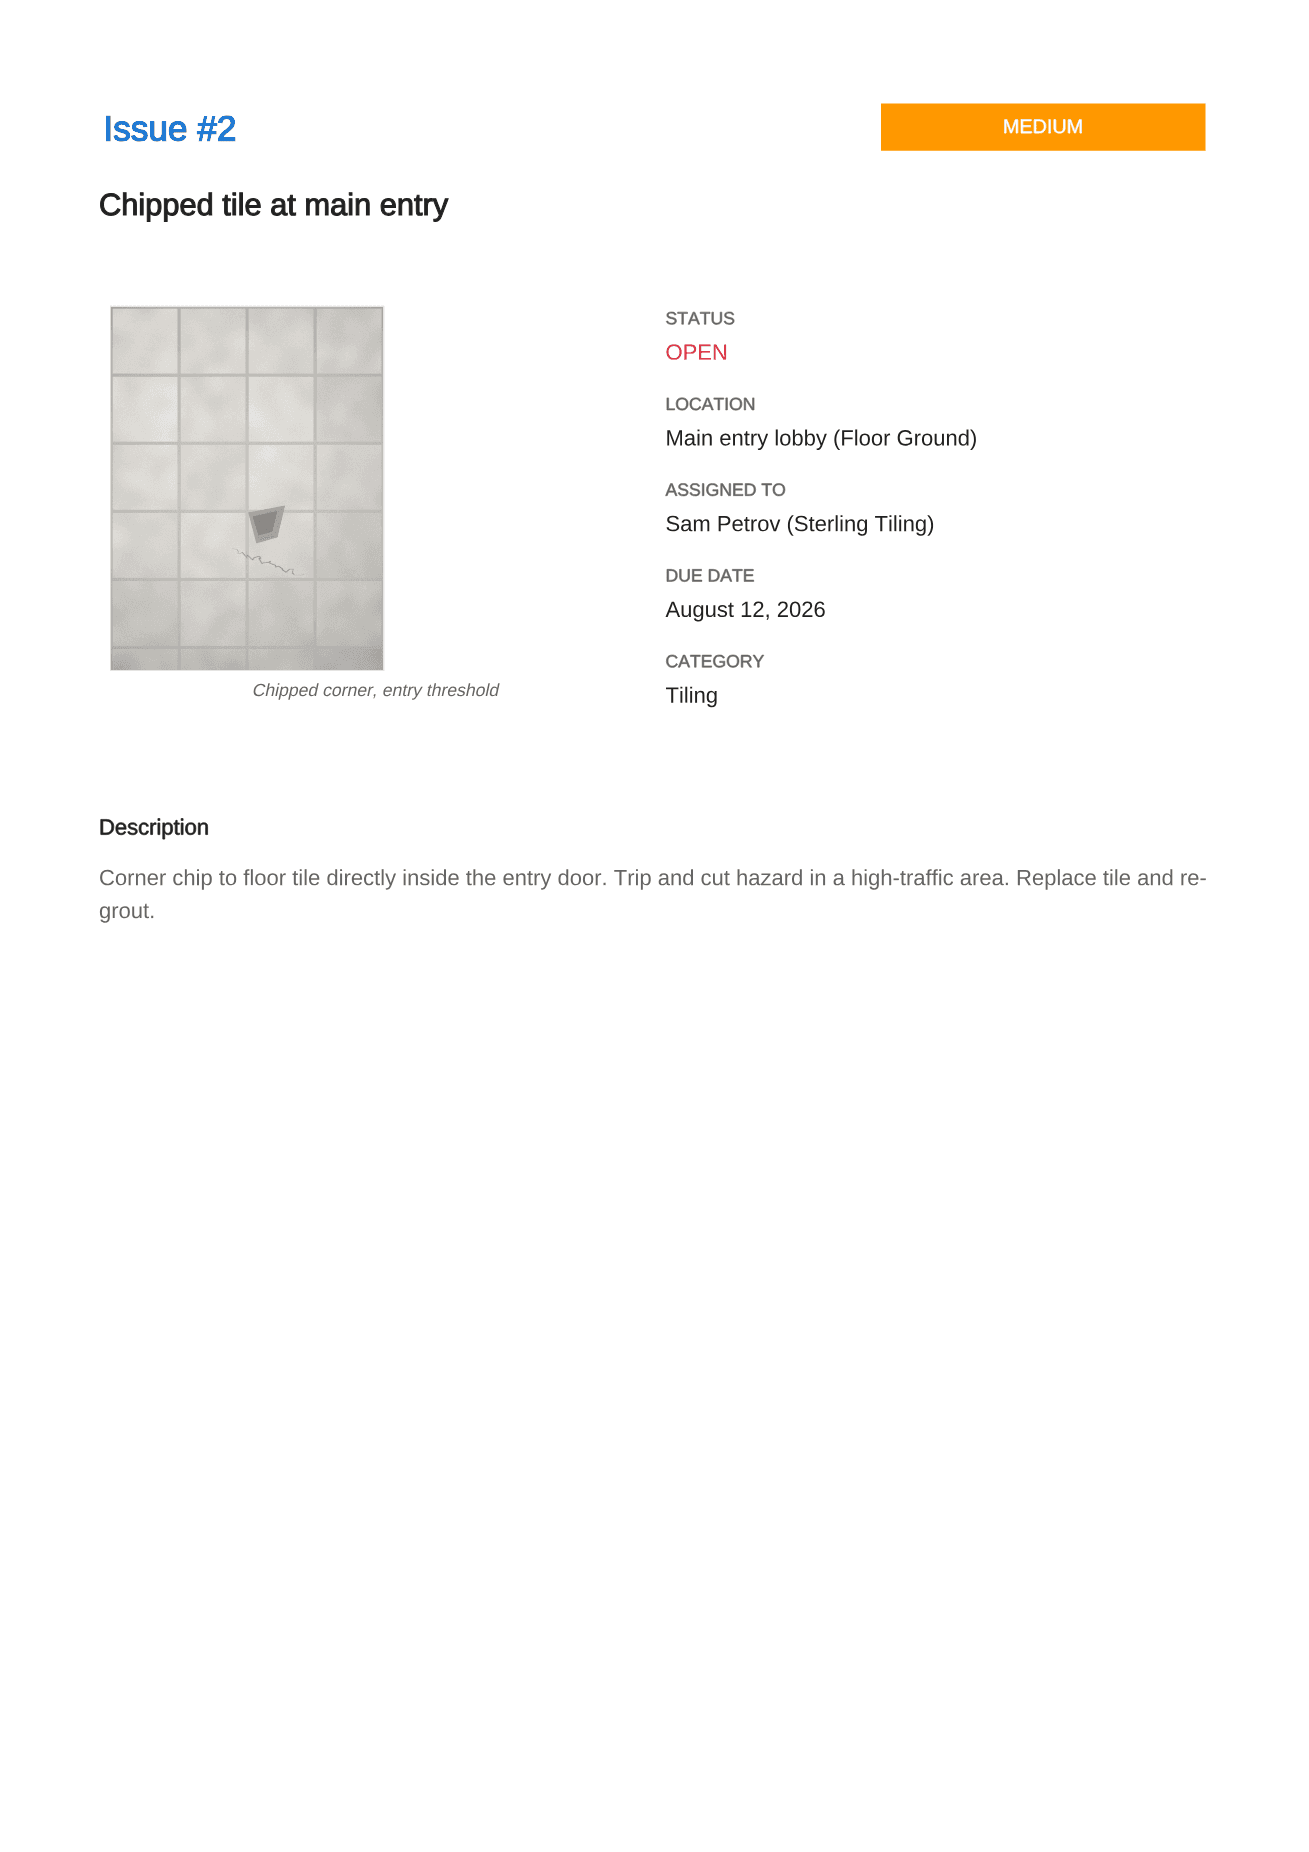
The same layout, every time
The fortieth snag reads like the first.
Each item gets the identical structure, so nobody has to work out how to read the report. This page is a chipped tile at the main entry, laid out exactly like the cracked render before it.
Why the report is built this way
Three people read a snagging report and they want different things. The client wants to know it was done properly, so the cover carries the inspector’s name and business details. The site manager wants the size of the job, so the summary table comes next. The trade wants to find the defect and fix it once, so every item gets its own page with the location, the remedy and every photograph.
Most defect reports fail on the third reader. One photograph per item, no caption, and a location like “bathroom” means the plasterer turns up, cannot find it, and the snag survives another visit. This layout exists to stop that.
The same structure works for a snag list, a punch list, a defect list or a handover report. Only the vocabulary changes. There is more on writing the entries themselves in how to write a snagging report, and a printable version of the columns in the free snag list template.
Use it as a template
What a site inspection report should contain, section by section.
Read moreWrite entries that get fixed
The five facts every snag needs, and the photographs to go with them.
Read moreMake your own for free
One complete project is free, finished PDF included. Pro is a one time unlock.
Read more